Phone Product Photos or a Designer?
Shoot your products by a window with a plain background, then see what editing adds and when it makes sense to pay a designer.
Key takeaways
- For most small stores, shooting on your phone is enough. What many hand off to a designer is the editing after the shoot.
- Indirect side light from a window, a plain background, and a steady phone matter more than equipment.
- Photograph every product from the same angles and distance so your store pages look consistent.
- It’s worth paying a designer when you have many products, need a clean white background, or want category and storefront images.
Shoot your products yourself on your phone, and hand off the editing to a designer when you have lots of products or need a consistent background. That’s the best fit for most small stores: a modern phone can capture a good enough photo if you control the light and background, while background removal, color correction, and size consistency are tasks a designer can usually do better and faster than you. Product photos are what customers see instead of holding the product in their hands, so if the images are dark or all different sizes, the whole store feels less trustworthy. This guide explains how to set up a shoot at home or in your shop, what editing adds, and when it’s worth paying for it.
What do you need to photograph products with your phone?
You only need four things, and you probably already have them at home: a window, a plain background, something to keep the phone steady, and a white sheet to reflect light. Don’t buy lighting or a lightbox before trying what you already have.
- A large window with no direct sunlight. Indirect light is soft and doesn’t create harsh shadows.
- A plain background: a white cardboard sheet, a large paper sheet, or fabric with no pattern or wrinkles.
- A phone stand, or a stack of books to lean the phone against. A steady phone gives you a sharper image and keeps the angle consistent across all photos.
- A second white sheet or foam board placed opposite the window. This acts as a reflector and bounces some light back onto the darker side of the product.
- A clean cloth to wipe dust and fingerprints off the product before every shot.
Light and background matter more than your phone
Place the table beside the window, not in front of it or behind it, so the light comes from the side of the product. Turn off the room lights, because mixing daylight with yellow indoor lighting shifts the colors and makes them harder to fix later. Shoot at a consistent time of day. Morning light is different from light before sunset, and photos taken at different times won’t match each other.
For a white background, tape the sheet to the wall and let it curve down onto the table without a corner. That curve hides the line between the wall and the table, making the product look like it’s sitting in clean white space. If the product is white or silver, try a light gray background so its edges don’t disappear.
Angles, phone settings, and consistent sizing
Choose a fixed set of shots for each product, and stick to it across all products. That consistency is what makes a category page look organized.
- A straight-on front shot at product level. This is the main image in your store.
- A slightly angled shot that shows depth and one side.
- A top-down shot for flat products like accessories and sets.
- A close-up of details: material, stitching, label, or button.
- A shot that shows scale, such as the product in a hand or next to something familiar.
In your phone settings, use the main lens, and move closer with your feet instead of using digital zoom, which enlarges the image in software and reduces sharpness. Turn off the flash, and tap the product on the screen so the phone sets focus and exposure on it. Use one image size for all photos. Square is the easiest, because most store platforms display images in square frames. Keep the same space between the product and the edges of the frame in every image. Check your store platform settings to see what image size it recommends.
What does editing add to your product photos?
Editing turns a set of decent individual photos into one consistent collection. These are the main things a designer does with product images:
- Background removal: separating the product from its background and placing it on pure white or your store color, so paper edges and unwanted shadows disappear.
- Color correction: bringing the product color back to how it looks in real life, so customers don’t receive a different color from what they saw.
- Consistent sizing and placement: all images use the same dimensions, with the product centered at roughly the same size in each one.
- Image cleanup: removing dust, small scratches, and distracting reflections on glossy surfaces.
- Category and storefront images: one image for each section of your store, plus a homepage banner in one consistent identity. A banner is the wide image at the top of the page.
You can do these things in phone apps for one or two products, but they take a long time when you have dozens of products, and the results tend to vary from one image to another if you’re not used to doing this work.
Do it yourself or hire a designer? A quick comparison
| Task | Do it yourself on your phone | With a designer |
|---|---|---|
| Photography | Suitable for most products with window light and a plain background | Usually not necessary, since you know the product and have it in hand |
| Background removal | Possible for a few photos, but fine edges are difficult | Clean edges and one consistent background for all products |
| Color correction | Phone apps can improve the image, but may change the true color | Color matched to the real product |
| Consistent sizing | Possible with patience and a fixed template | Fast and consistent across all images |
| Category and storefront images | Hard to make them all feel like one identity | A complete design in your store colors and fonts |
When is it worth paying for editing?
Pay for editing when your time is worth more than the amount, or when the issue is visible to your customers. These are the signs that it’s time:
- You have 20 products or more that need one background and one size before opening the store or adding a new collection.
- Customers ask about the real color, or say the product arrived in a different color than the photo.
- Your category page looks messy because every image has a different background and size.
- Your store has no category images or storefront visuals, and the homepage shows a mix of unrelated product photos.
At the time of writing, on Hylance you can find a service for editing and retouching 20 images in Photoshop, including background removal and color enhancement, for about SAR 90 (about $24), category and product storefront image design for about SAR 80 (about $21), and 6 editable Instagram Story templates in Canva in your store identity for about SAR 55 (about $15). These are approximate figures, and the exact price and what’s included are listed on each service page. Your first service order on Hylance also gets a 10% discount as part of the launch offer.
How should you send your photos to the designer?
Send the original files exactly as they came from your phone, not versions sent through chat apps, because those are compressed and lose quality. Upload them in the order chat inside the platform, and clearly write what you want with them:
- The background color you want: pure white, or your store color with its code if you have it.
- The final size, such as a square in the dimensions your store platform recommends.
- Whether you want a light shadow under the product or no shadow at all.
- A reference image from your store whose result you like, so the designer can follow the same style.
- Any products with color-sensitive tones, with a note about their real color.
You pay for the service from your Hylance wallet, and the amount stays on hold and is only released to the designer after you confirm that you received the images. Before delivery, you can cancel the order and the amount is returned to your wallet. After delivery, if the work does not match what you agreed on, you can open a dispute for the platform team to review.
Common product photography mistakes
- Shooting at night under a room lamp. Colors shift yellow and shadows become heavy.
- Using a background with patterns or other objects that pull attention away from the product.
- Using a different main image angle for each product in the same category.
- Applying strong filters that make the image look good but the color unrealistic.
- Using only one photo for the product when the customer wants to see sides, details, and size.
Product photo services on Hylance
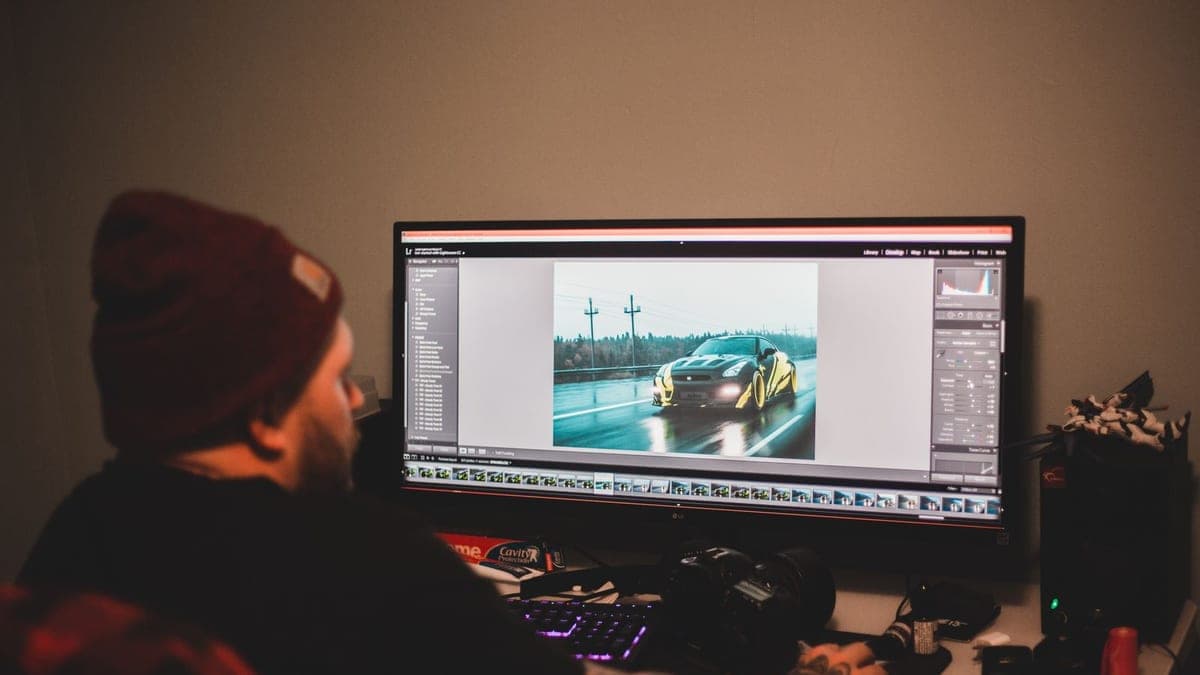
20 Photos Edited in Photoshop: Background Removal and Color Correction
- Graphics & Design
- New service


Category Images and Product Mockups for Your Store
- Graphics & Design
- New service


6 Editable Instagram Story Templates on Canva for Your Store
- Graphics & Design
- Recently added
- New service
Frequently asked questions
Is a phone enough for ecommerce product photography?
Yes, for most small stores, as long as you use indirect side light from a window, a plain background, and keep the phone steady on a stand or a stack of books, and shoot with the main lens without digital zoom. What usually needs a designer is the editing after the shoot.
How can I photograph products on a white background at home?
Place a white board or a large sheet so it curves from the wall down to the table, so no line shows between them. Put the product near a window with no direct sunlight, and place another white sheet opposite the window to soften the shadow. The fully clean, even white usually comes later through editing and background removal.
When do I need a designer for my store’s product photos?
When you have many products that need one consistent background and size, when the photo colors don’t match the real product, or when you need category images and storefront visuals that match your store’s identity. The shooting itself, though, is something you can usually do with your phone.
Ready to put this into practice?
Browse Graphics & Design services on Hylance and order what your business needs, with escrow that protects both sides. Or create an account and list your first service in minutes.